
Tangiblee Help Center
GTM Analytics Setup - GA Account configuration - GA4
[.bad]GTM integration is NOT the preferred method for integrating your analytics. We recommend GTAG integration when possible.[.bad]
Step 1: Assign Viewer Role
Assign Viewer role for the GA Property where Tangiblee will push all analytics information to the following email address:
- analytics2@tangiblee.com
1.1. Share Property Id (ex: 306418501) of the GA Property shared with the Tangiblee team.
1.2. Share Measurement Id (ex: G-JQYB8ZRNS5) of Web Stream found within the GA Property.
* If Tangiblee runs your A/B Test, please assign Editor role to analytics2@tangiblee.com.
Step 2: Create Custom Definitions
Create the following Custom Definitions in the GA Property shared with the Tangiblee team (see tables below):
2.1. Custom Dimensions:
2.2 Custom Metrics:
GTM tag setup:
There are three types of Tangiblee events:
- impression - once Tangiblee CTA appeared
- interaction - once Tangiblee CTA clicked or tapped
- ping - every 5 seconds while the Tangiblee is open
To enable Tangiblee dataLayer events in the GTM platform, please create dataLayer variables, triggers and tags.
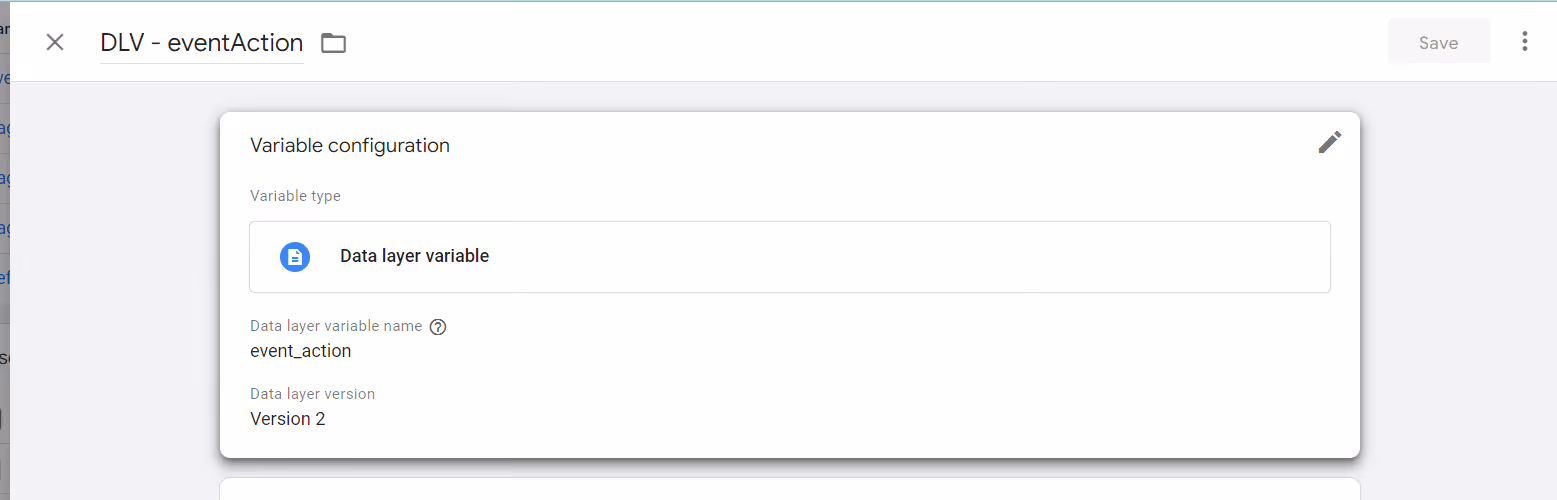
Variables
For each Custom Dimension specified,.
For example:
.avif)
.avif)
.avif)
.avif)
.avif)
.avif)
.avif)
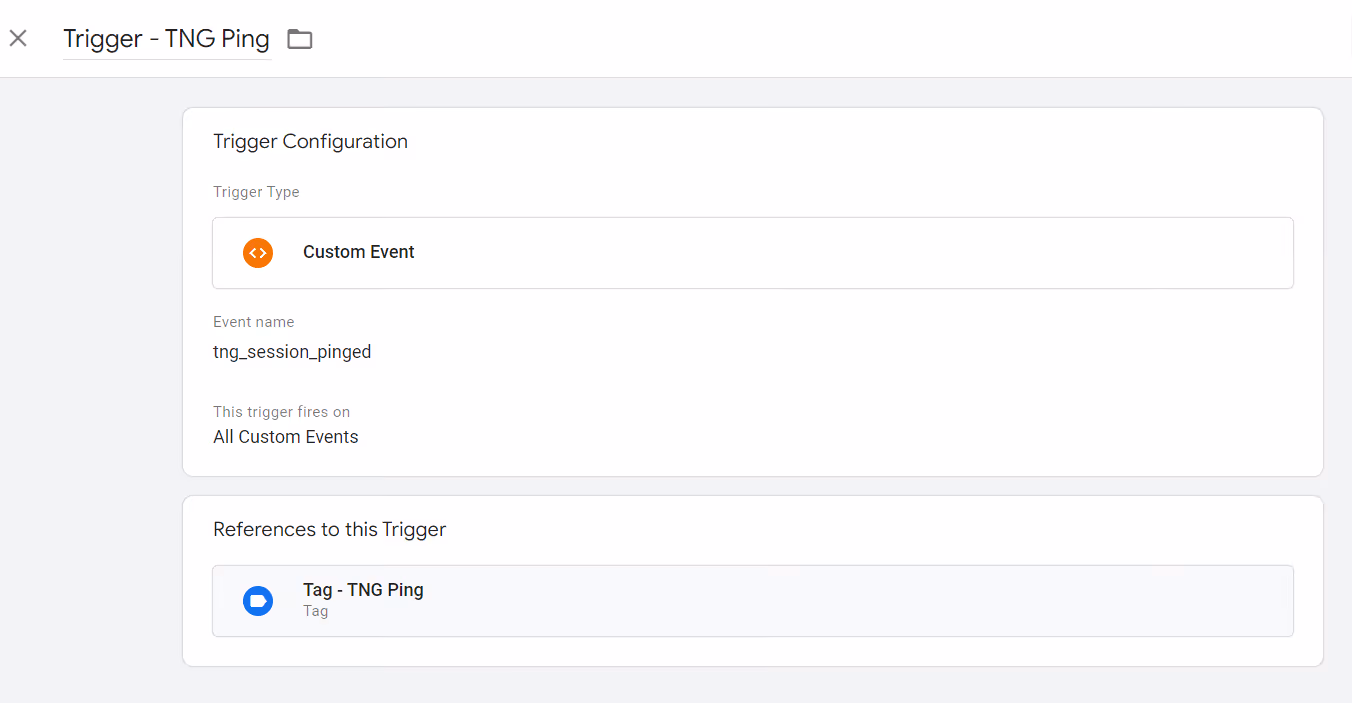
Triggers
For each event specified above, set up a trigger.
For example:
.avif)
.avif)
Tags
Next, create a tag for each trigger that contains all the required Custom Dimensions, as well as a binding to the trigger itself.
For example:
.avif)
.avif)
.avif)