
Find answers about implementation, virtual try-on, product visualization, integrations, analytics, and account support.
GTM Analytics Setup - GA Account configuration - GA4
1. Assign Viewer Role Email Address
Assign viewer role for the GA Property where Tangiblee will push all analytics information to the following email address:
1.1. Share Property Id (ex: 306418501) of the GA Property shared with the Tangiblee team.
1.2. Share Measurement Id (ex: G-JQYB8ZRNS5) of Web Stream found within the GA Property.
1.3. If Tangiblee runs your A/B Test, please assign Editor role to analytics2@tangiblee.com.
2. Create the following Custom Dimensions
Create the following custom dimensions in the GA Property shared with the Tangiblee team (see tables below):
2.1. Custom Dimensions:
2.2 Custom Metrics:
GTM tag setup
There are three types of Tangiblee events:
- impression - once Tangiblee CTA appeared
- interaction - once Tangiblee CTA clicked or tapped
- ping - every 5 seconds while the Tangiblee is open
To enable Tangiblee dataLayer events in the GTM platform, you must create dataLayer variables, a trigger, and a tag.
DataLayer Variables Setup
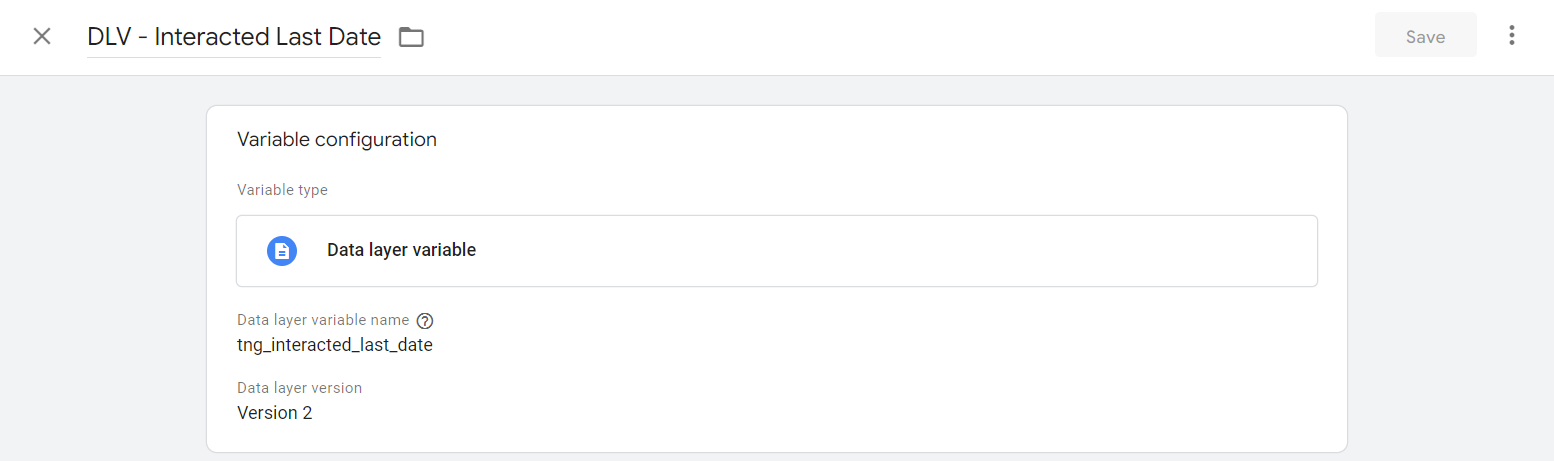
For each Custom Dimension specified above, set up dataLayer variables.
For example:
.png)
.png)
.png)
.png)
.png)
.png)
Trigger Setup
For each event specified in this doc we need to set up a trigger.
For example:
.png)
.png)
.png)
Tags
Next, create a tag for each trigger that contains all the required Custom Dimensions, as well as a binding to the trigger itself.
For example:
.png)
.png)
GA4 dataLayer, GTM analytics, custom dimensions, event mapping, tag manager setup, tracking implementation
Set up Tangiblee GA4 event tracking via Google Tag Manager. Covers dataLayer variable config, GTM trigger rules, and tag publishing steps for GTM-based implementations.